linux操作系统下命令行模式tipask系统安装教程
以下是在linux干净环境下的操作实录,如果有小白用户想自己在linux下通过命令行部署安装tipask系统可以按照下面的操作一步步执行即可。
操作的环境是CentOS 7.5 64位,执行下面的操作之前需要先通过ssh工具登陆到服务器。
以下是在linux干净环境下的操作实录,如果有小白用户想自己在linux下通过命令行部署安装tipask系统可以按照下面的操作一步步执行即可。
操作的环境是CentOS 7.5 64位,执行下面的操作之前需要先通过ssh工具登陆到服务器。
一、安装php7.1:由于centos默认的yum源自带的php版本比较低,这里我需要添加一个yum源来安装最新的php版本
rpm -Uvh https://dl.fedoraproject.org/pub/epel/epel-release-latest-7.noarch.rpm
执行结果如下图:

rpm -Uvh https://mirror.webtatic.com/yum/el7/webtatic-release.rpm

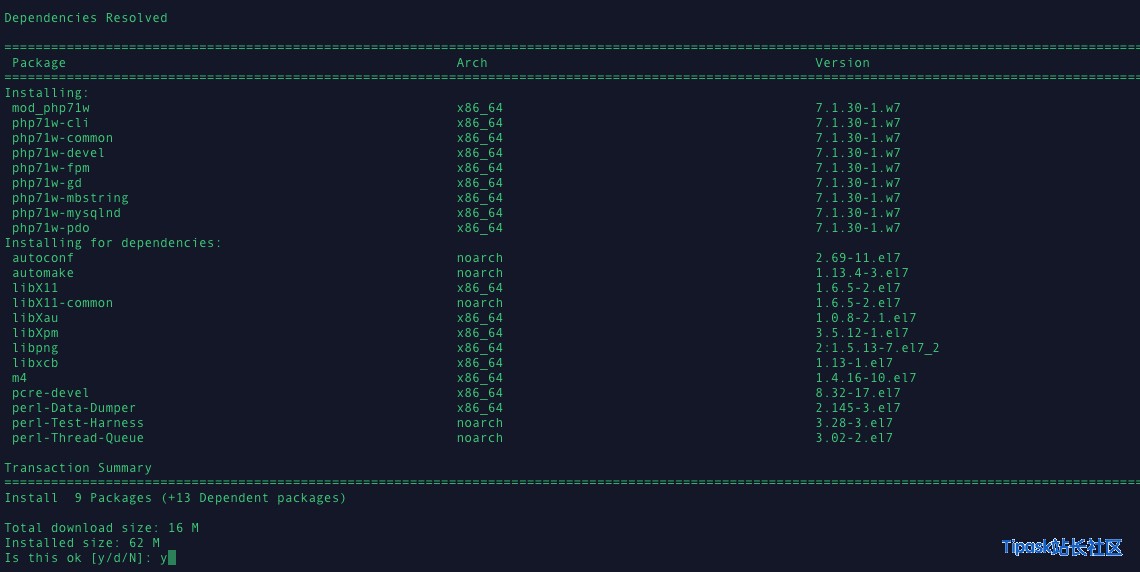
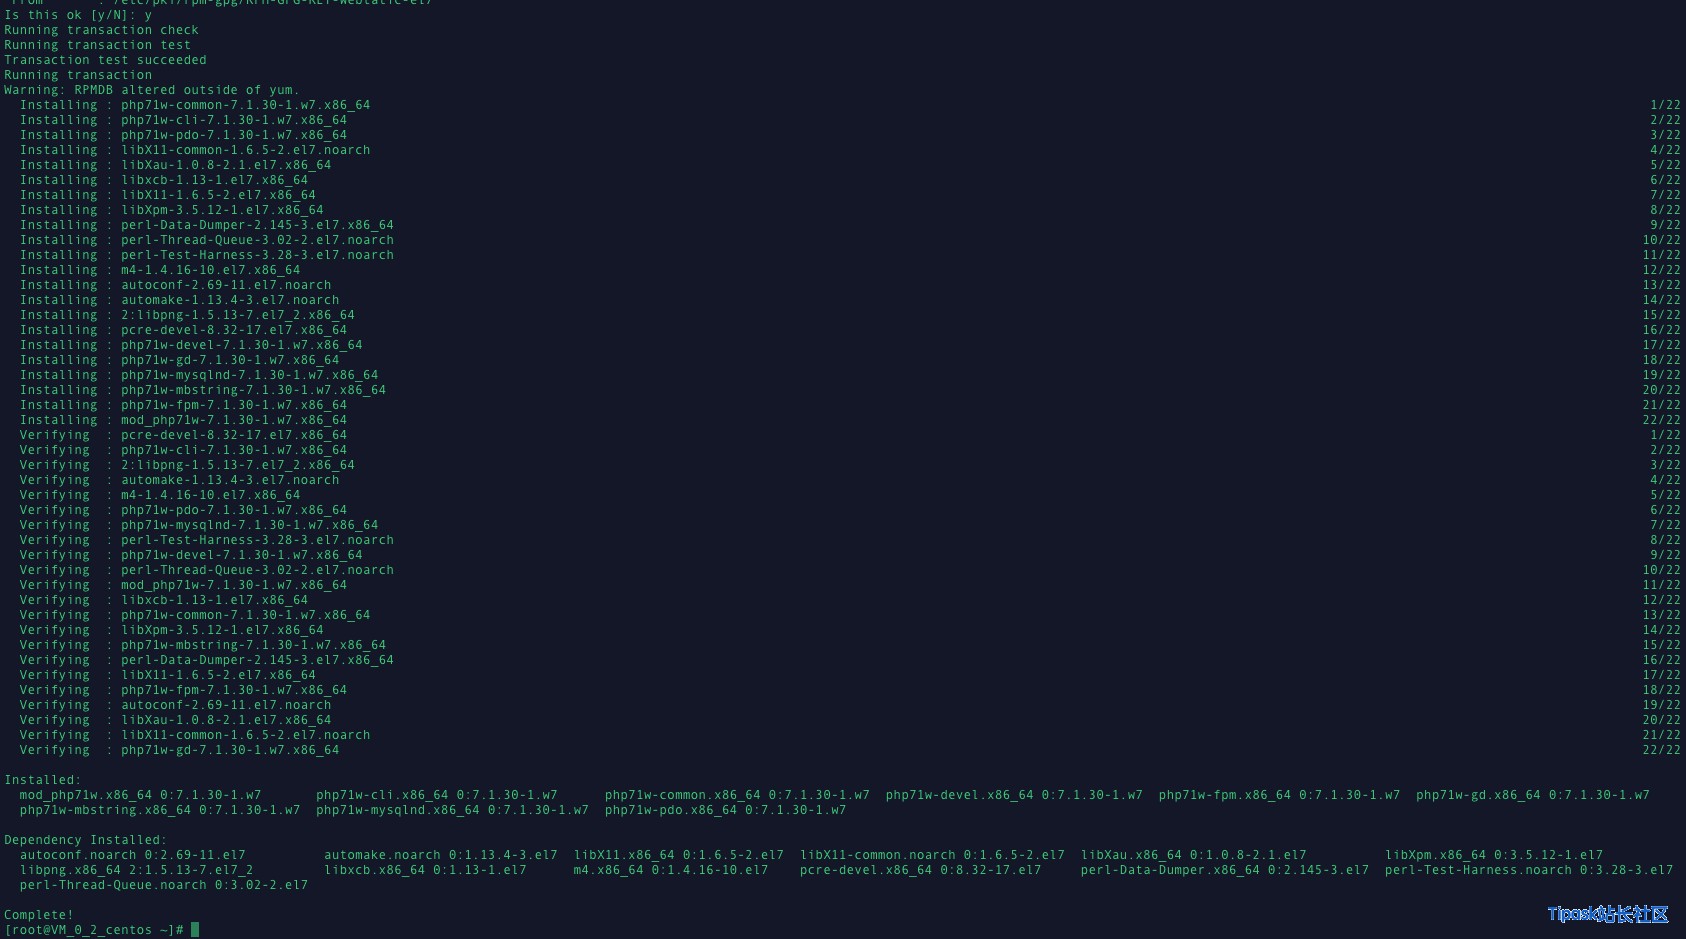
开始安装php7.1版本,执行如下命令:
yum install php71w php71w-fpm php71w-cli php71w-common php71w-devel php71w-gd php71w-pdo php71w-mysqlnd php71w-mbstring php71w-fileinfo php71w-openssl
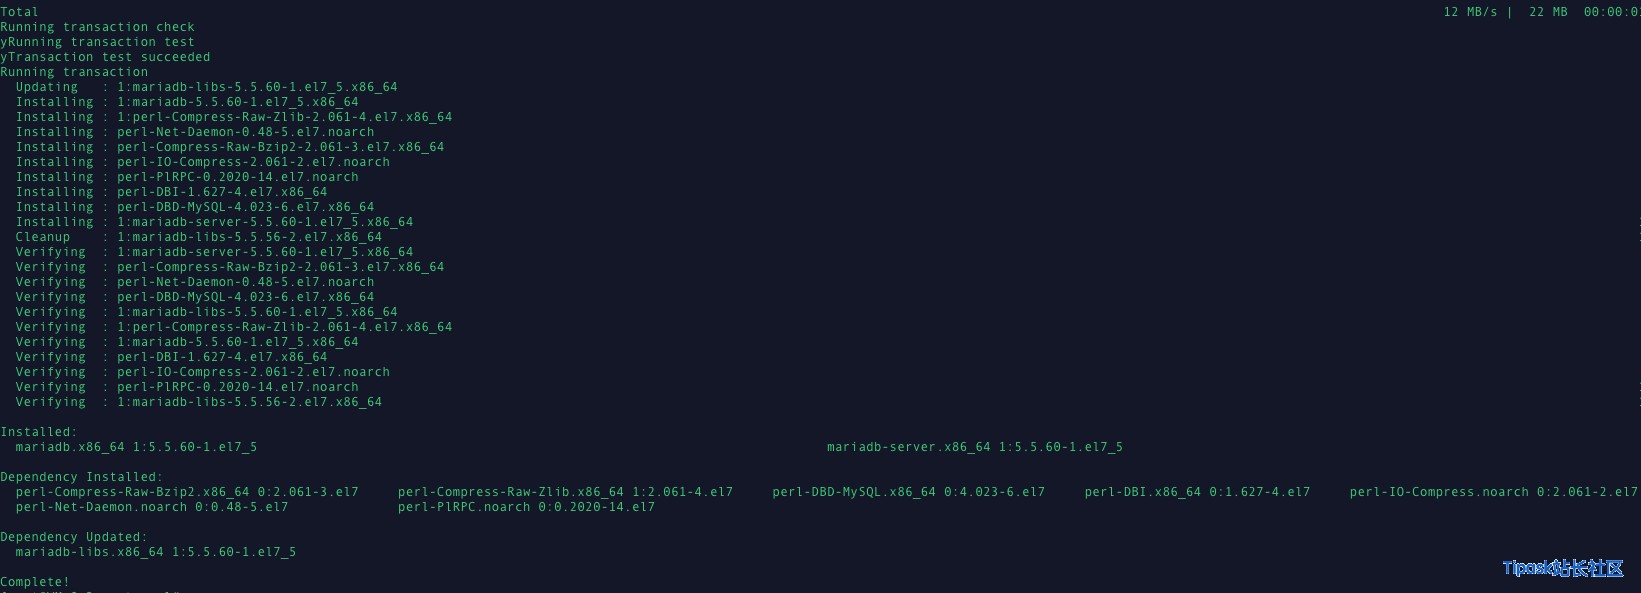
二、安装mysql(centos 下将mysql换成了 mariadb mysql的另外一个分支,这里直接用就行了,跟mysql一样)
yum -y install mariadb mariadb-server
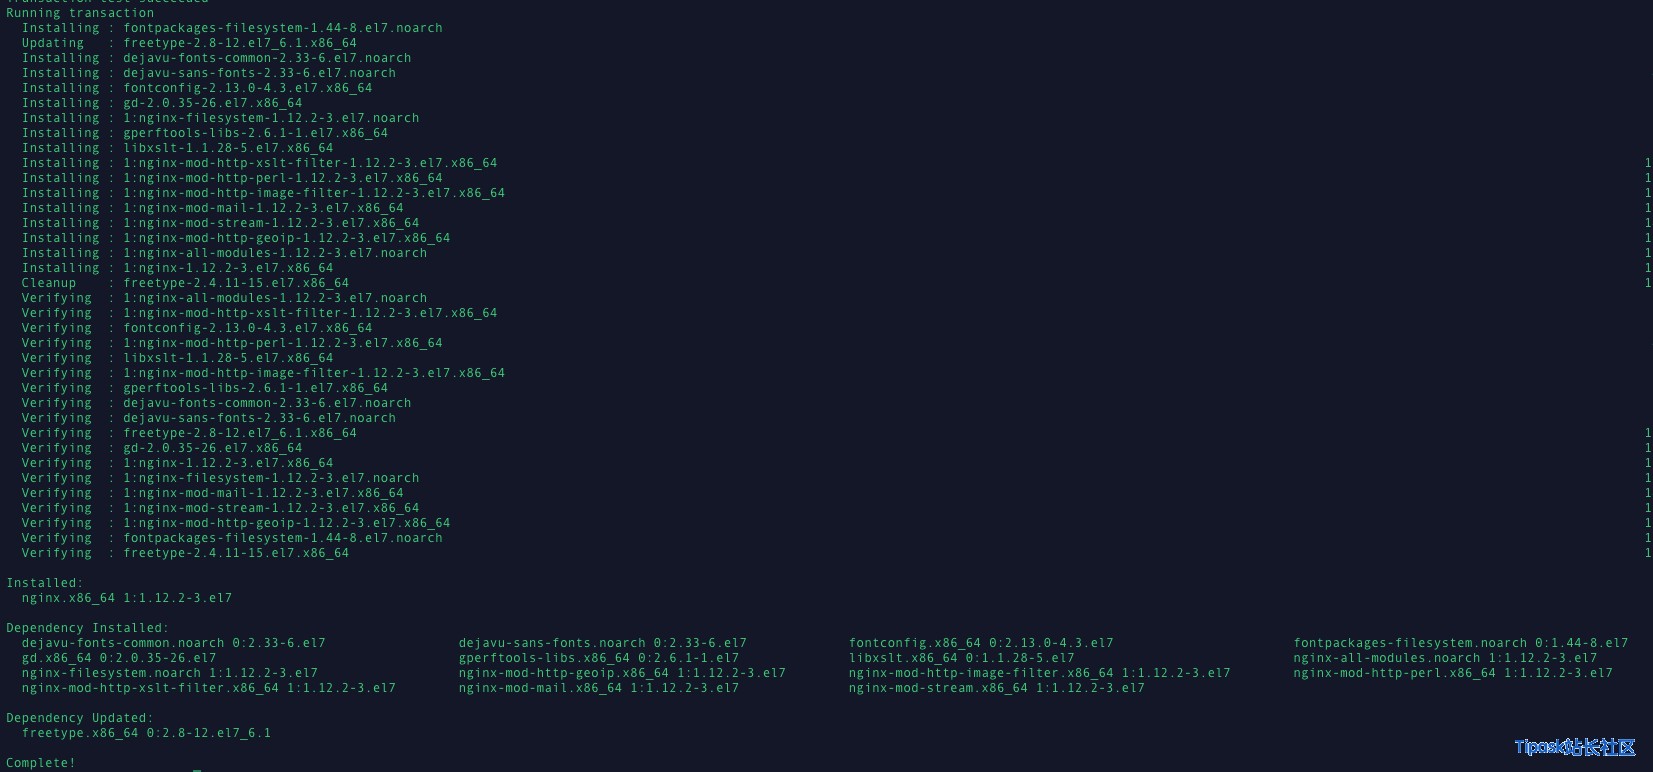
三、安装nginx
yum -y install nginx
四、修改php-fpm配置文件(/etc/php-fpm.d/www.conf ),将用户修改为nginx
user=nginx
group=nginx
五、创建站点目录
mkdir /home/wwwroot/
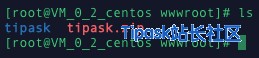
六、通过ftp工具上传tipask.zip 源码到/home/wwwroot目录下,解压tipask.zip并调整文件权限
cd /home/wwwroot
unzip -d tipask tipask.zip
chown -R nginx:nginx  tipask  //修改用户组权限
chmod -R 775 tipask/bootstrap/cache    tipask/storage       //修改相关目录读写权限
七、配置nginx站点文件/etc/nginx/conf.d/tipask.conf,配置文件内容如下:
server {
    listen       80;
    server_name  demo.tipask.cc; #配置的站点域名,根据实际域名自行调整
    set $domain public;
    set $project_root /home/wwwroot/tipask;
    root $project_root/$domain;
    charset utf-8;
    #access_log  /home/wwwroot/tipask/storage/tipask.access.log combined; #需要查看访问日志的可以去掉注释
    #error_log   /home/wwwroot/tipask/storage/tipask.error.log error;#需要查看错误日志的可以去掉注释
    if (!-e $request_filename){
        rewrite ^/(.*)$ /index.php?$1 last;
    }
    location / {
        index  index.php index.html;
    }
    # redirect server error pages to the static page /50x.html
    #
    error_page   500 502 503 504  /50x.html;
    location = /50x.html {
        root   /usr/share/nginx/html;
    }
    # pass the PHP scripts to FastCGI server listening on 127.0.0.1:9000
    #
    location ~ \.php$ {
        fastcgi_pass   127.0.0.1:9000;
        fastcgi_index  index.php;
        fastcgi_param  SCRIPT_FILENAME  $project_root/$domain$fastcgi_script_name;
        include        fastcgi_params;
    }
}
保存配置文件之后,启动nginx服务:
systemctl start nginx.service
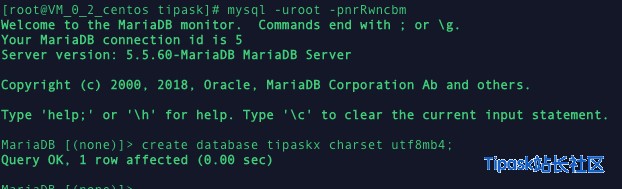
八、登录mysql创建tipask数据库,mysql刚刚创建时默认用户是root,密码为空,这里需要为root用户配置一个密码。
systemctl start mariadb.service //启动mysql服务
mysqladmin -u root -p password nrRwncbm //密码是随机生成的,可自行修改
mysql -uroot -pnrRwncbm //登录mysql
create database tipaskx charset utf8mb4; //创建tipask数据库
九、开启php-fpm服务,通过web界面进行安装:
systemctl start php-fpm.service
访问http://demo.tipask.cc/install进行安装,如下图:
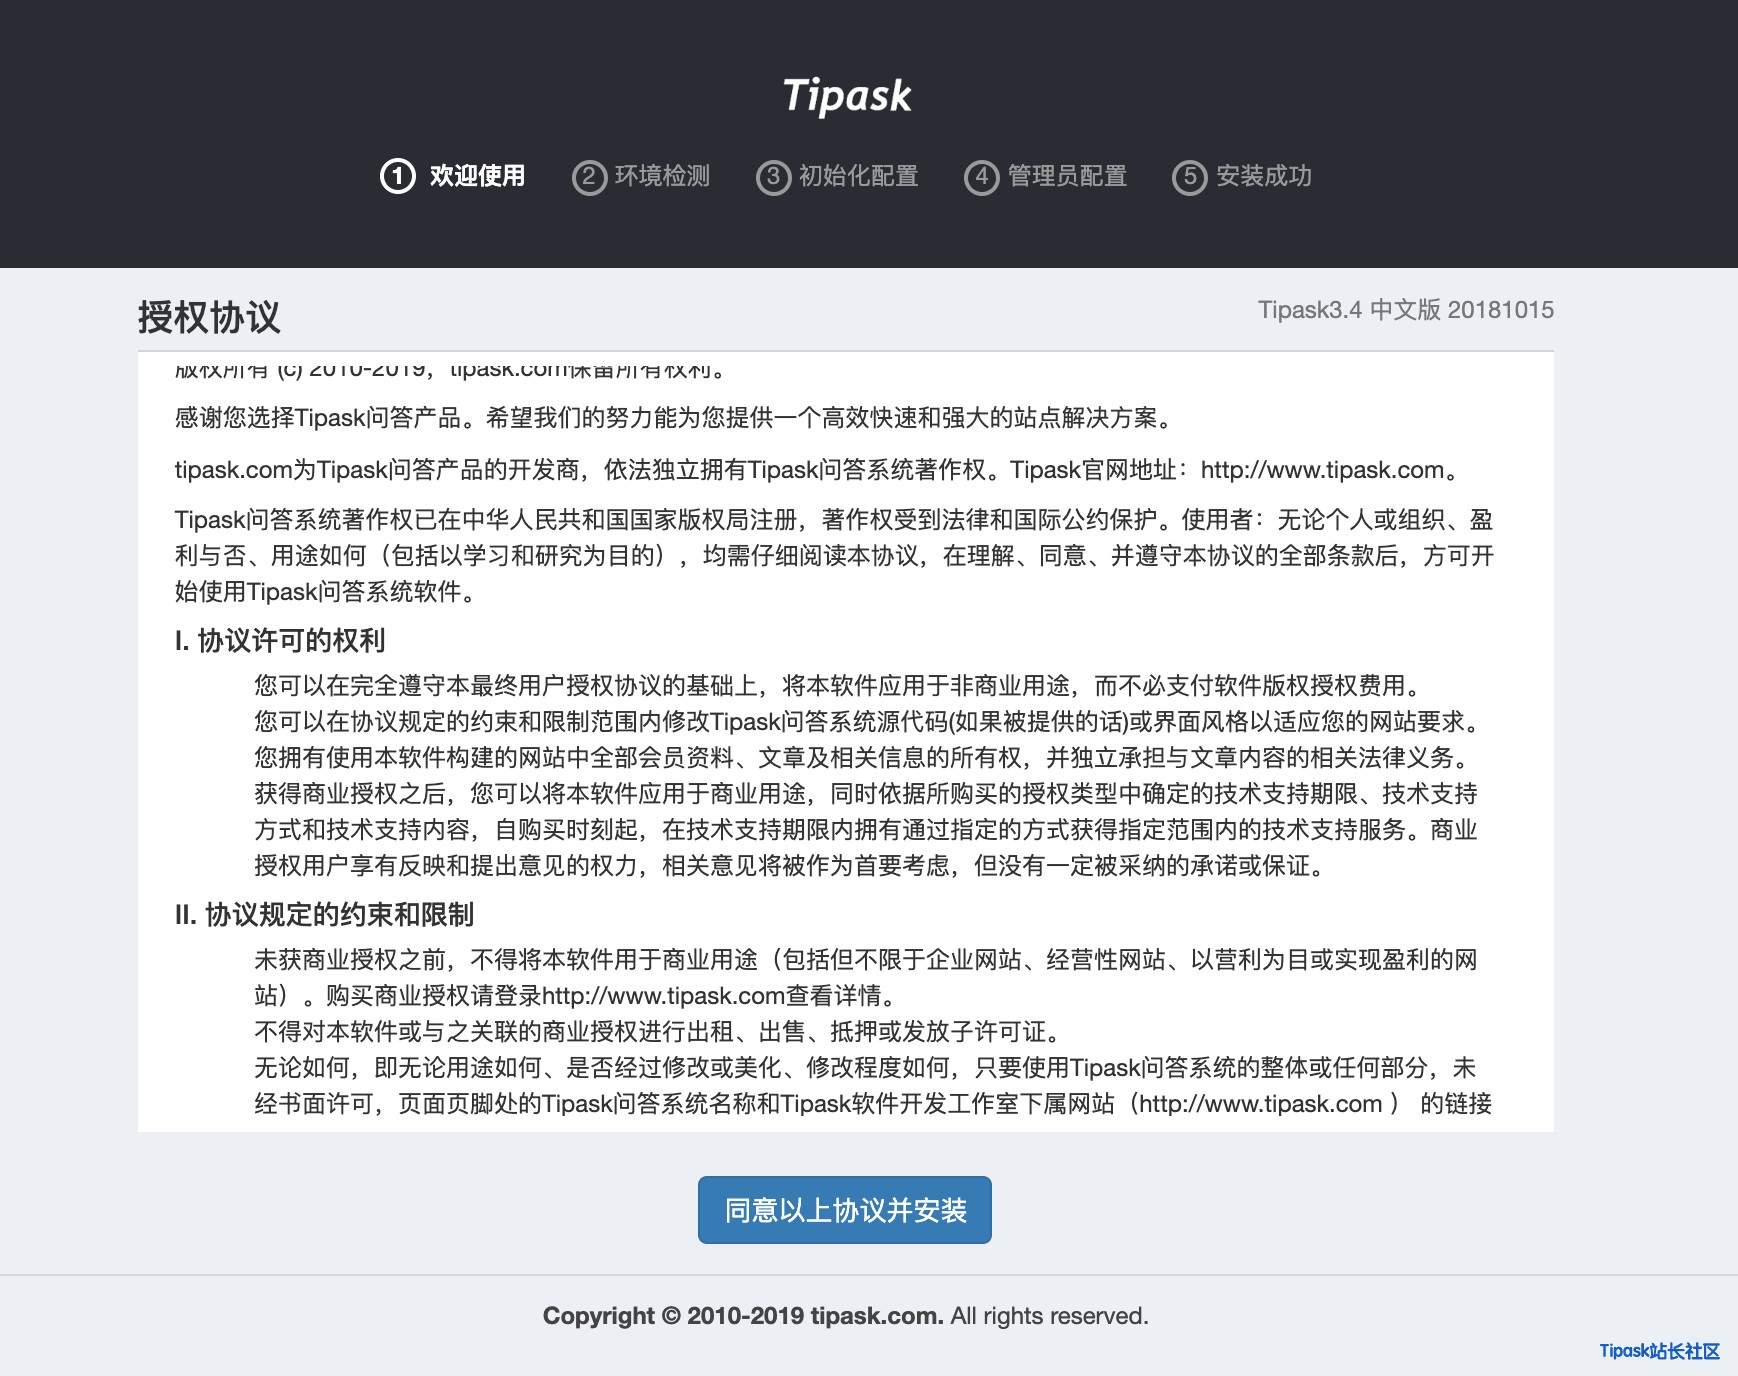
这里点击同意,进行下一步,如下图:
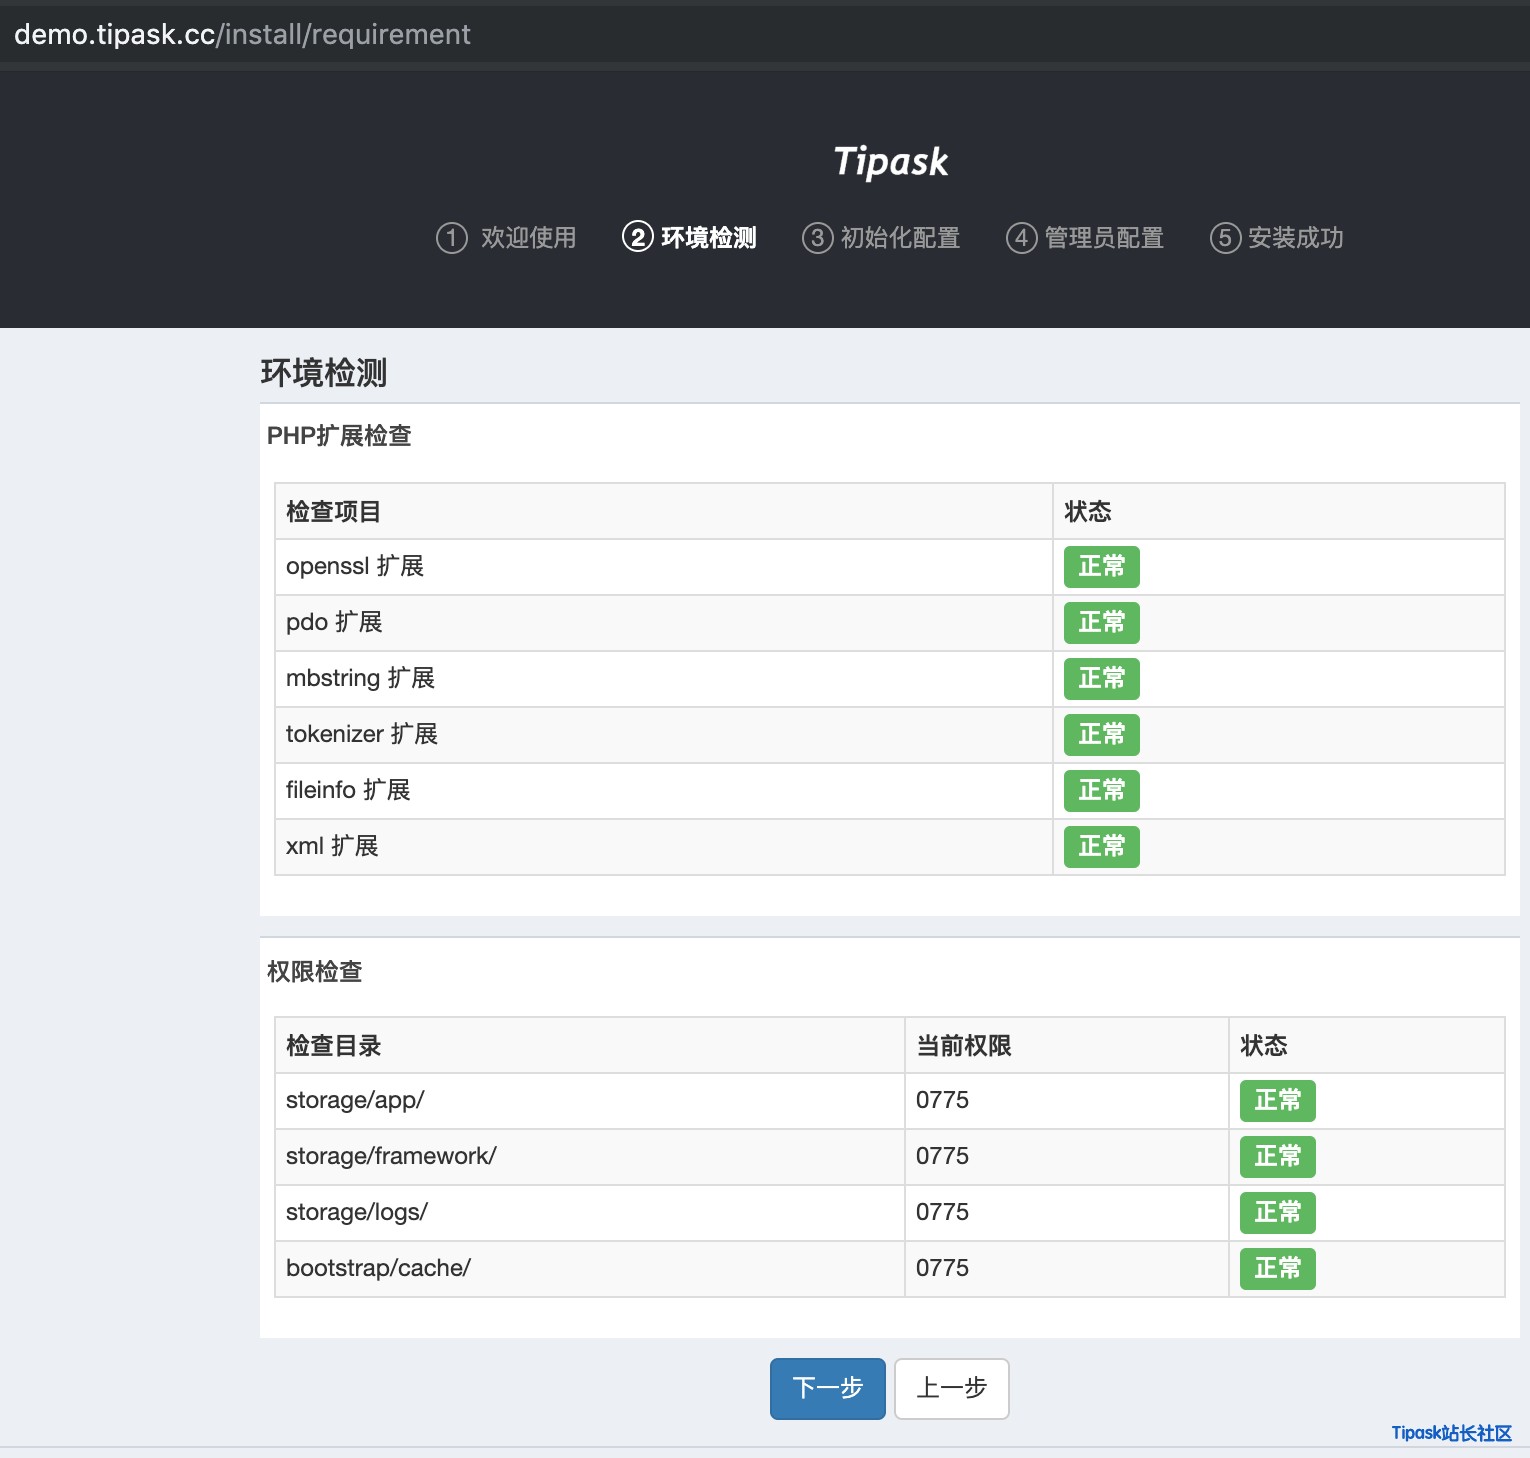
继续点击【下一步】,如下图:
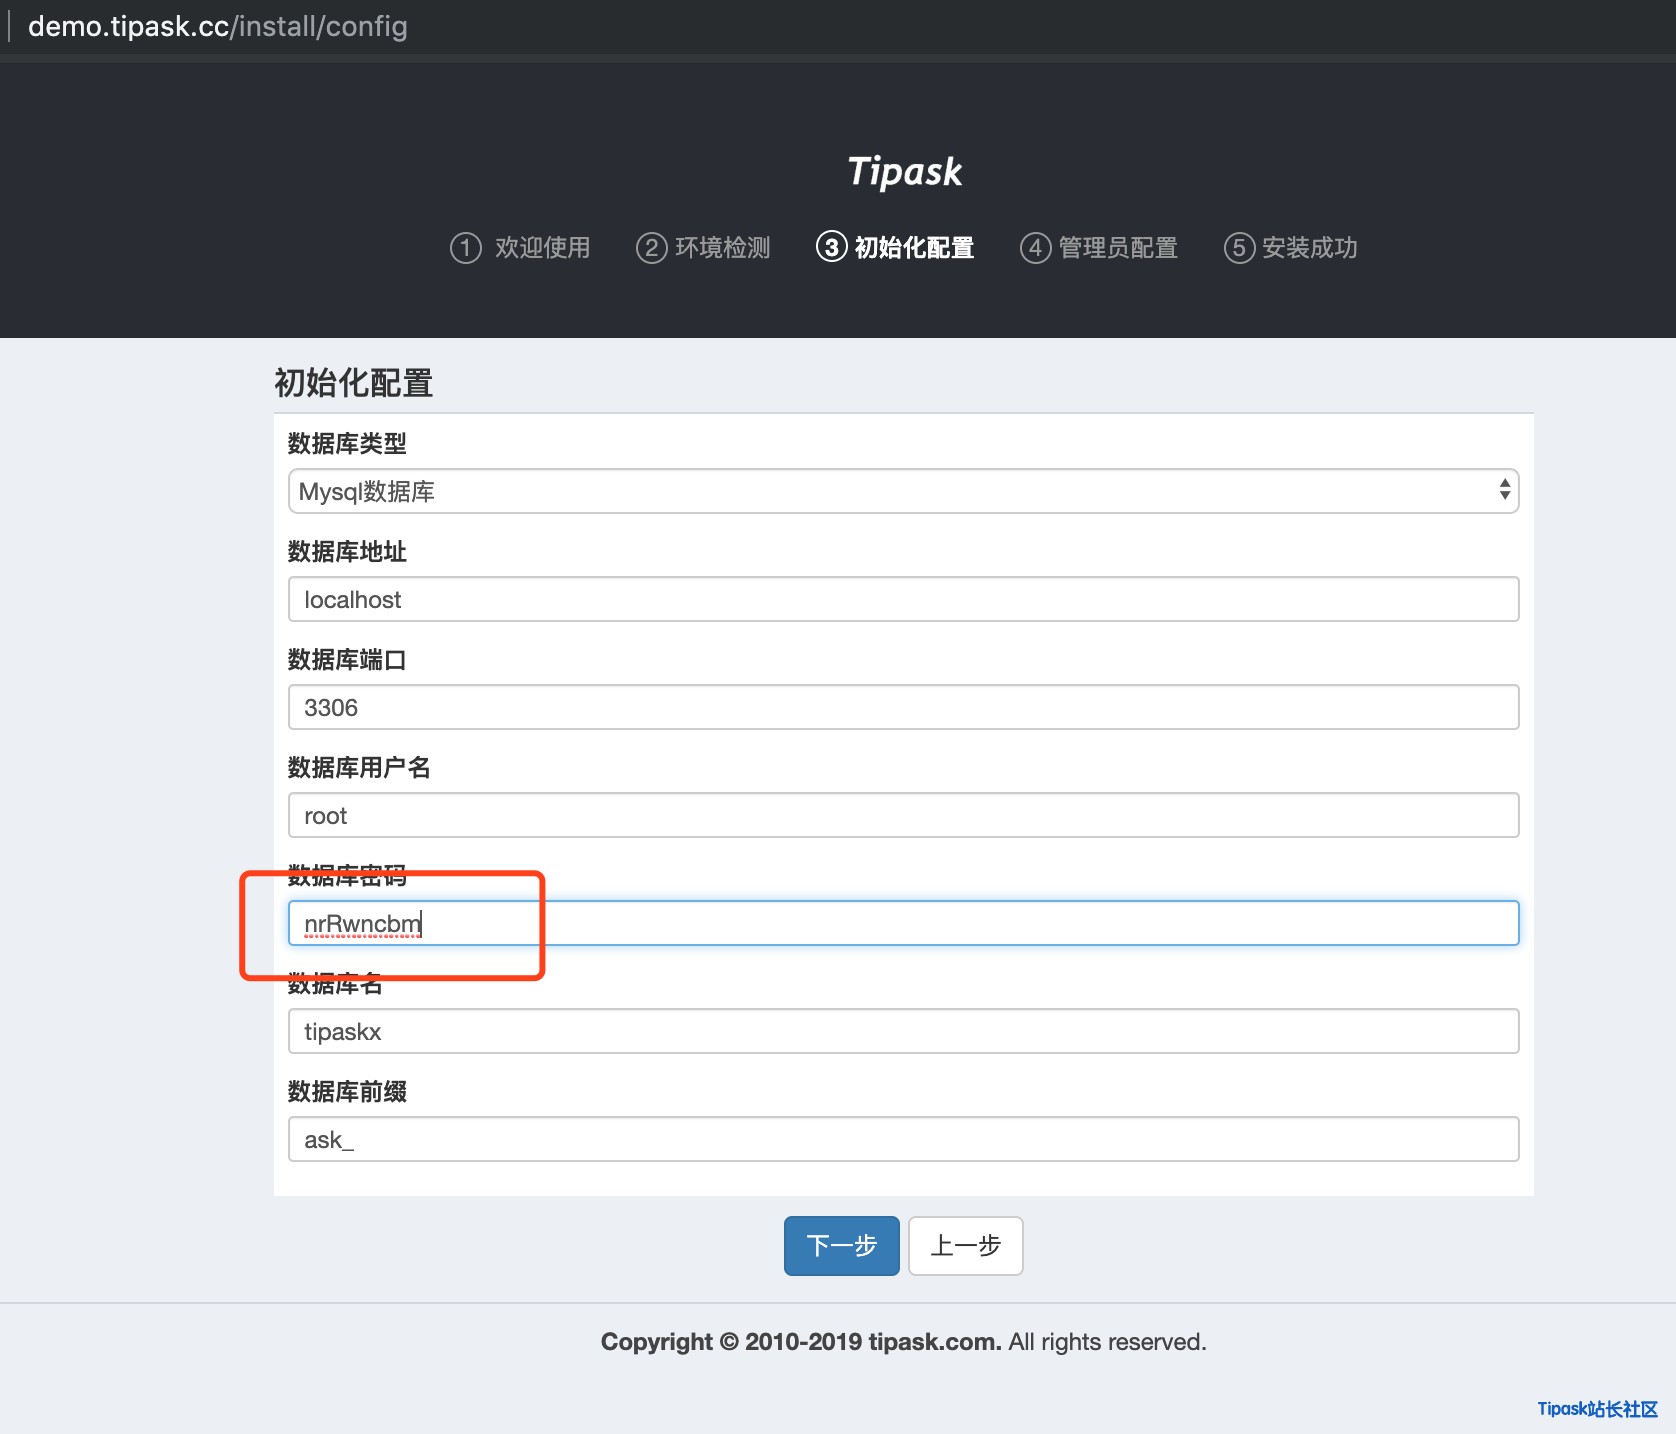
填写数据库密码之后,点击下一步:
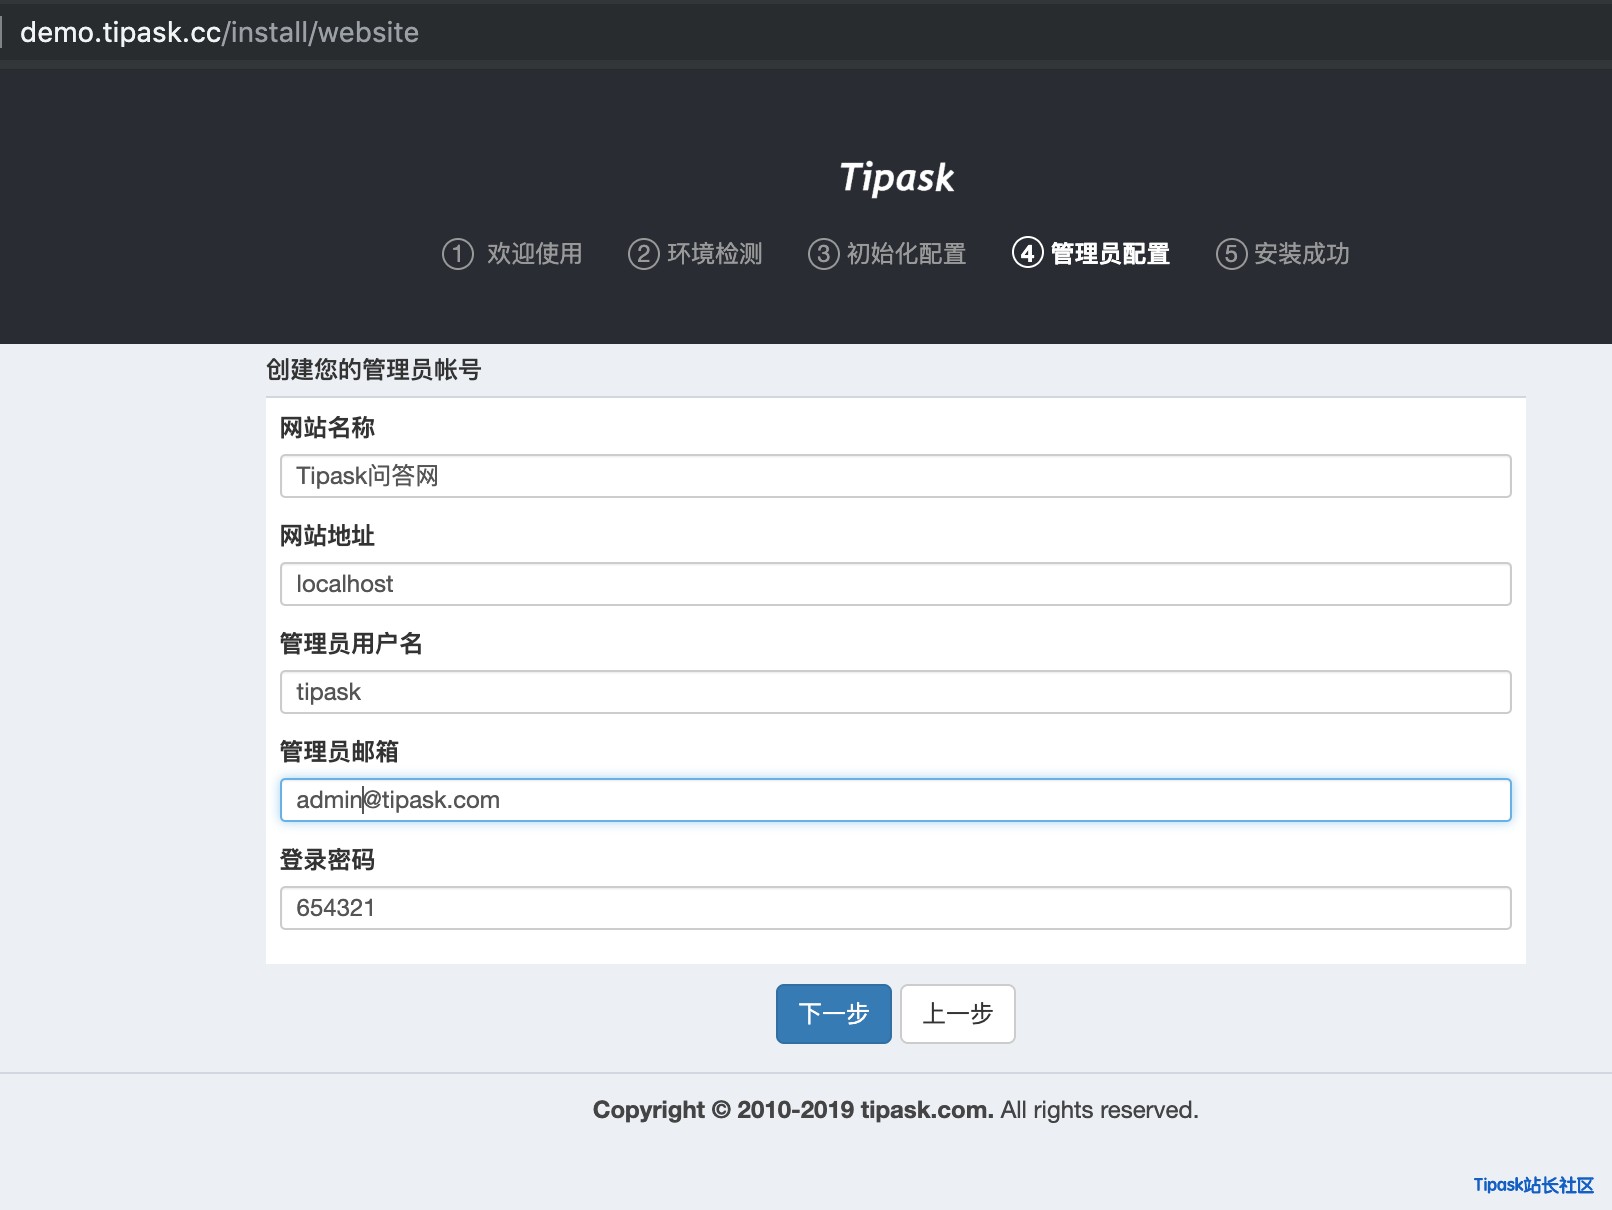
完善网站和管理员相关账号信息之后点击【下一步】,即可完成网站的安装了,如下图:
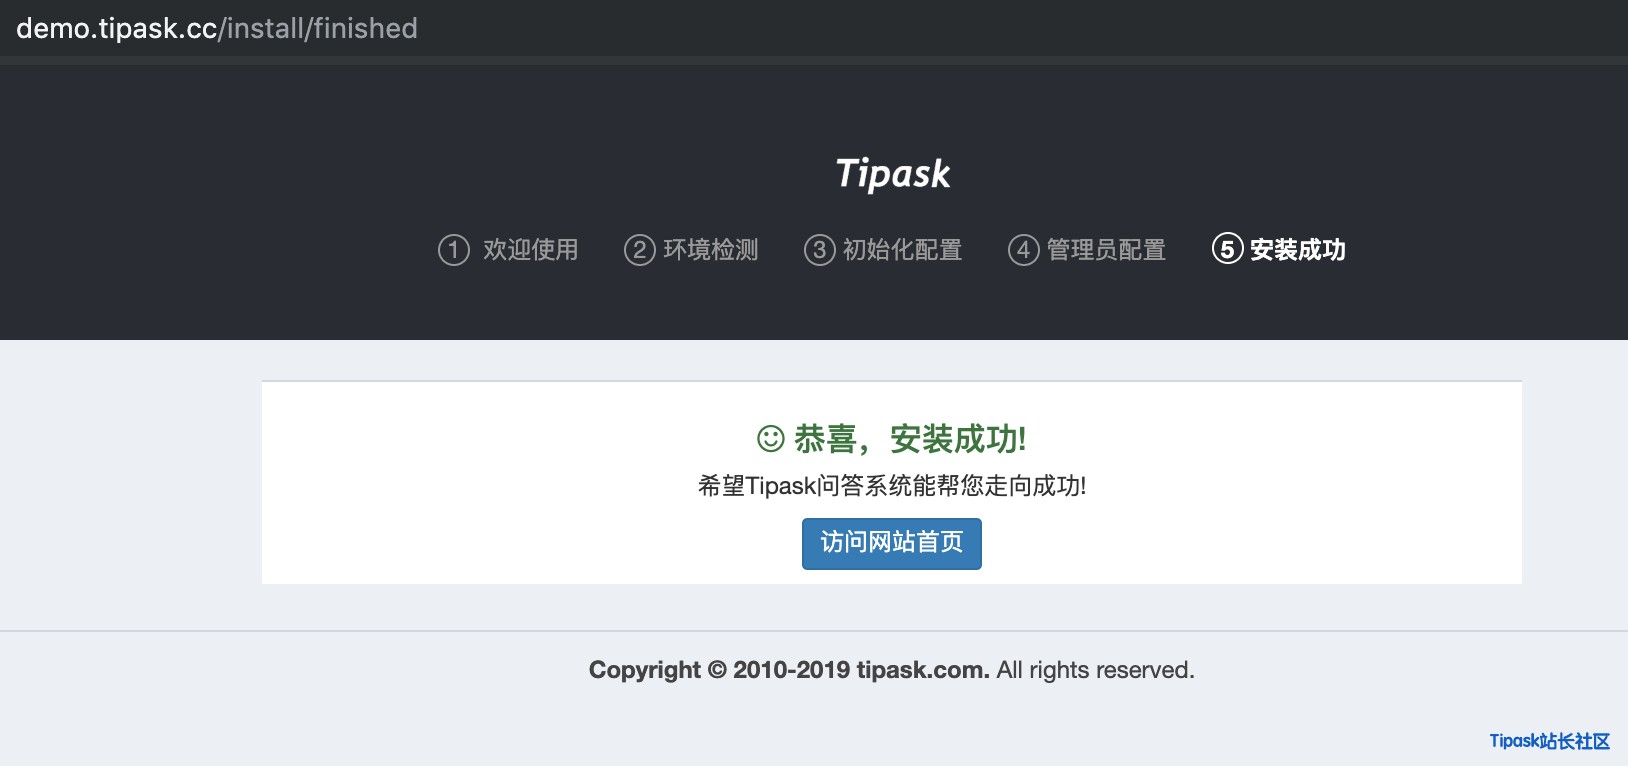
到此就已经完成tipask的安装了,点击访问网站首页即可正常使用了。
- 发表于 2019-08-05 17:42
- 阅读 ( 16085 )
- 分类:程序使用